


How to taste whiskey: the 5 steps of an enlightened enthusiast
The glass, the eye, the nose, the palate, the finish: the simple method that changes everything, explained step by step.
A glass on the table, the late afternoon light filtering through the amber liquid: whiskey tasting begins long before the first sip. The difference between someone who "drinks a whiskey" and someone who truly savors it almost never lies in the whiskey itself – it lies in the method.
Setting out the right glass, observing, smelling once then a second time, tasting, then waiting: five simple gestures, always in the same order, are enough to transform a mechanical act into a true tasting. This guide covers these five steps one by one, in the order an enlightened enthusiast actually practices them.
Why tasting changes everything
Tasting whiskey isn't about complicating it. It's simply about giving it time to reveal itself, instead of downing it like any other alcohol. The method requires neither rare equipment nor learned vocabulary — just slowing down and following a logical order: the eye before the nose, the nose before the palate, the palate before the finish.
What surprises enthusiasts most when they discover this method is how much the container influences the result. The same whiskey, served in an unsuitable glass then in a glass designed for tasting, tells a different story: the aromas disperse in one case, concentrating and organizing themselves in the other.
An accessible method, not an elitist ritual
There's nothing intimidating about this approach. It only takes a few minutes longer than a rushed tasting, and works equally well for a fine single malt or an affordable blend shared with friends on a terrace.
The underestimated role of the glass
Before even talking about aromas or color, a simple fact must be acknowledged: a good glass accounts for nearly a third of a successful tasting. Its shape directs — or disperses — everything the nose can then pick up. That's why the first step of this guide isn't about the whiskey, but about the glass it's served in.
Step 1 — Choosing the right glass
It all starts here, and it's often the most neglected step. A whiskey served in a water glass or a wide tumbler disperses its aromas into the ambient air before even reaching the nose. A whiskey glass designed for tasting, with a rounded bowl and a slightly constricted rim, does the opposite: it concentrates the vapors and directs them upwards, where they will be captured.
The tulip shape, a reference for tasters
The "tulip" shape, popularized by professional tasting glasses, is based on a simple principle: a wide base to swirl and aerate the whiskey, and a constricted rim to channel the aromas. This silhouette is found, with various interpretations, in most glasses designed specifically for tasting rather than for serving on ice.
Why a bad glass ruins everything else
A too-open glass allows volatile compounds to escape before inhalation: the nose then perceives mainly alcohol, without distinguishing the finer notes of dried fruit, peat, or vanilla. A good whiskey glass doesn't do everything, but it conditions everything that the following steps can reveal.
- Wide base: allows the whiskey to be gently swirled for aeration without violent agitation.
- Constricted rim: concentrates aromas instead of letting them disperse throughout the room.
- Even glass thickness: keeps the drink at the right temperature longer in hand.
- Stability of the stem or base: essential for repeated rotations during observation.
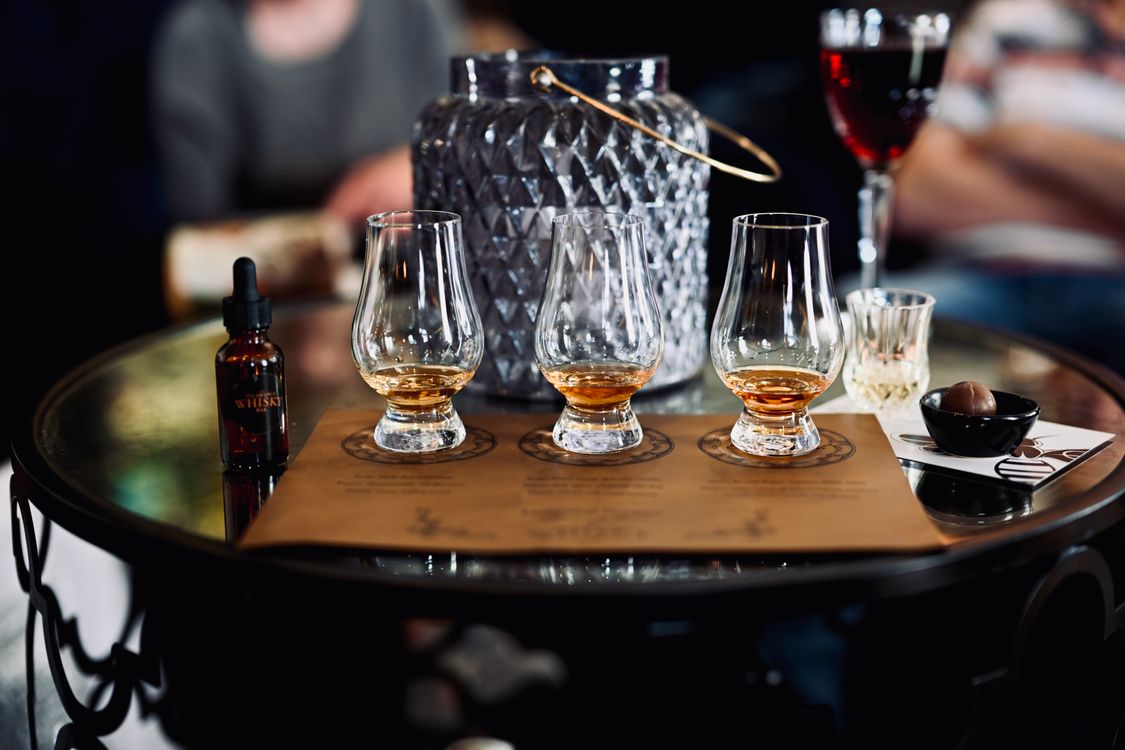
| Glass type | Shape | Effect on aromas |
|---|---|---|
| Tulip glass (tasting) | Wide base, constricted rim | Concentrates and directs aromas towards the nose |
| Tumbler / Old Fashioned | Wide cylindrical opening | Diffuses aromas, ideal on ice |
| Large cognac-type glass | Very open bowl | Releases many aromas at once, sometimes too many |
For home tasting, Gustave Montclair's Whiskey Glasses collection brings together pieces designed for this specific moment, combining graphic lines with more classic silhouettes. Find our selection right after the FAQ.
Step 2 — The eye, first reading of the whiskey
Before bringing the glass to your nose, observe it. This step takes ten seconds, but it already provides valuable clues about what will follow on the palate.
Color, both an indicator and a trap
Tilt the glass against natural or white light. The hue ranges from very pale straw to deep mahogany, encompassing all shades of gold and amber. This color primarily comes from aging in oak barrels: the longer the stay, the deeper the tint tends to become. However, it remains a clue, never a certainty — some barrels color faster than others.
The legs, an indication of texture
Gently swirl the whiskey against the side of the glass, then observe the rivulets that slowly descend: these are the "legs" or "tears." Thin, fast legs often indicate a lighter whiskey in terms of alcohol or body; thick, slow legs suggest a richer, rounder texture on the palate.
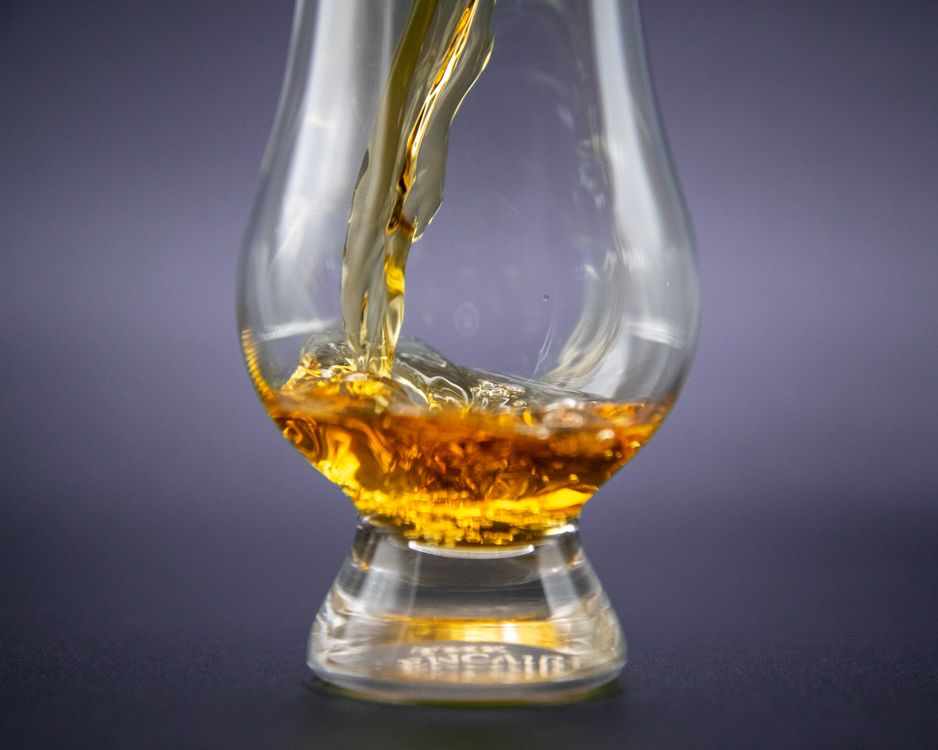
This observation never replaces the nose and palate, but it prepares your attention: by already identifying a texture that seems dense or, conversely, lively, you approach the next step with an initial hypothesis to verify.
Step 3 — The nose, the art of the double pass
The nose is arguably the most insightful step — and the most often rushed. The method used by enlightened enthusiasts is based on a simple principle: smell twice, never just once.
The first nose, in its purest state
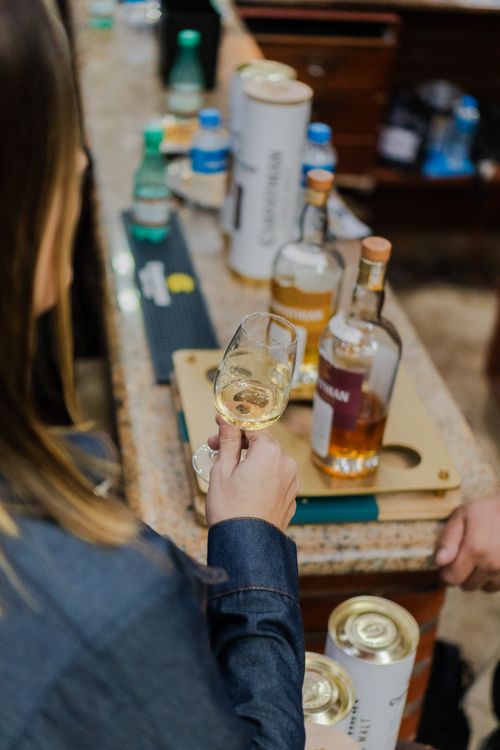
Bring the glass to your nose without pressing it against your nostrils, slightly open your mouth, and inhale gently. This first pass reveals the most volatile aromas: citrus, fresh fruit, floral notes, sometimes a more pronounced hint of alcohol if the whiskey is high-proof. Don't linger: a nostril saturated with ethanol won't detect anything subtle for several seconds.
The second nose, after a drop of water
Then add a few drops of still water, at room temperature, and smell again. Dilution slightly lowers the alcohol content and releases more discreet, often deeper aromas: spices, wood, dried fruit, sometimes smoky notes previously masked by the alcohol. This second nose, almost always different from the first, is often the one enthusiasts prefer.
Step 4 — The palate, between attack and retro-olfaction
After the eye and the nose comes the palate, often mistakenly perceived as the only truly important step. In reality, it confirms or nuances what the previous two steps have already suggested.
The first sip, without rushing
Take a small amount of whiskey, let it coat your entire tongue for a few seconds before swallowing. Traditionally, three stages are distinguished: the attack, often soft and sweet; the mid-palate, where spices, fruits, or woody notes appear; the finish, which already heralds the aftertaste.
Retro-olfaction, the true revealer
Immediately after swallowing, exhale gently through your nose, with your mouth closed. This retro-olfaction brings up aromas that the palate alone doesn't perceive — it's often at this precise moment that the most complex notes of a whiskey appear: tobacco, leather, candied fruits, or peat, depending on the style.
- Attack: the first few seconds on the palate, often marked by sweetness or roundness.
- Mid-palate: the heart of the whiskey, where most of the aromas unfold.
- Retro-olfaction: the passage through the nose after swallowing, which reveals the most subtle notes.
Step 5 — The finish, the lingering signature
The finish is what lingers in the mouth once the whiskey is swallowed — sometimes for a few seconds, sometimes for several minutes for the most complex whiskies. It's often what distinguishes a good whiskey from a great whiskey.
Short, long, evolving: three finish profiles
A short finish fades quickly, leaving nothing remarkable. A long finish continues to evolve, sometimes revealing notes that weren't perceptible on the palate — a spicy hint, a smoky undertone, a light and pleasant bitterness. Between the two, a finish that "evolves" by changing register in a few seconds is generally considered the mark of a well-constructed whiskey.
Take the time to remain silent for a few moments after swallowing: this is often the step that is rushed the most, even though it concludes and summarizes the entire tasting.
Composing your own tasting ritual
Once these five steps are mastered, all that remains is to give them a worthy setting. The whiskey ritual lends itself particularly well to a simple but refined staging, both at home and during an evening among enthusiasts.
The right glass, a non-negotiable starting point
As mentioned in step 1, everything starts with the glass. Investing in two or three whiskey glasses with the appropriate shape immediately changes the way you perceive an already familiar whiskey — often the best way to rediscover an everyday bottle.
The whiskey serving set, the complete experience
To go further, a complete whiskey serving set — decanter and matching glasses — allows you to present the bottle differently, especially during a reception. Serving your whiskey in a decanter before pouring it into the tasting glass also adds a visual dimension to the ritual, with light passing through the crystal even before the whiskey reaches the glass. Our guide Crystal Whiskey Decanter: complete buying guide 2026 details the criteria to know for choosing yours well, in addition to what this tasting glass can already reveal.
A whiskey decanter and matching glasses never replace the method itself — but they make it a moment that one enjoys preparing, glass after glass, bottle after bottle.
FAQ — Frequently asked questions about how to taste whiskey
For a true home tasting experience
Expertly selected by our team — Gustave Montclair catalog


Exclusive reader offer
−10% off the entire catalog
Valid on all our glasses, decanters, and accessories.


